Getting started
To quickly start with Open Integration Engine™️, also called OIE™️ in this documentation, you can use the different installers available on Windows, macOS, and Linux platforms.
INFO
All installers are available at the releases page on GitHub, see GitHub Releases
The installers are available in 2 flavors:
- With Java Runtime Environment (JRE)
- Without JRE
System requirements
The OIE Server operates as a completely self-contained application and does not depend on any external application server.
Java requirements
The Open Integration Engine requires Java 17+ to work.
Database requirements
OIE uses an embedded Apache Derby database by default, which allows you to store configuration and messages, for the purpose of rapid deployment, development and testing.
For production deployments, it is recommended to use only database versions currently receiving official security and maintenance support from their respective vendors. The following database engines are supported as backends:
- PostgreSQL
- MySQL
- MariaDB
- Oracle
- SQL Server
Download and installation
You can download the latest version of Open Integration Engine for your platform at this address.
Windows
INFO
Add Screenshots for windows Installation
Wizard screenshots are similar to macOS part
macOS
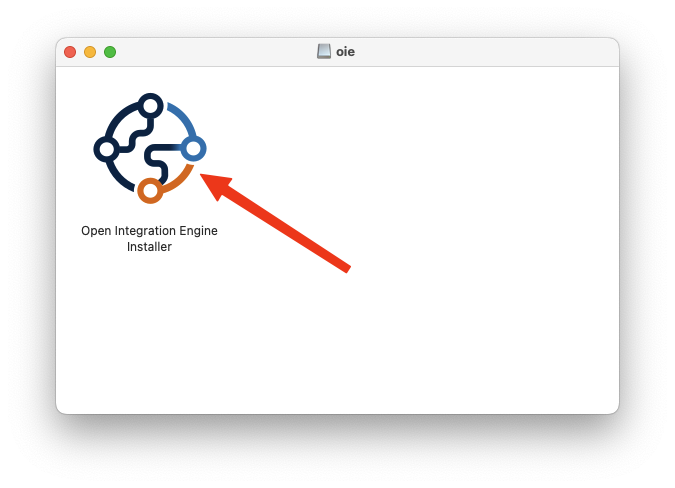
Locate the downloaded .dmg file and double-click the file to mount it.
A window will open showing the Open Integration Engine Installer. Double-click to launch the Installer Wizard.
Click Next on the initial Setup screen to move to the License Screen. 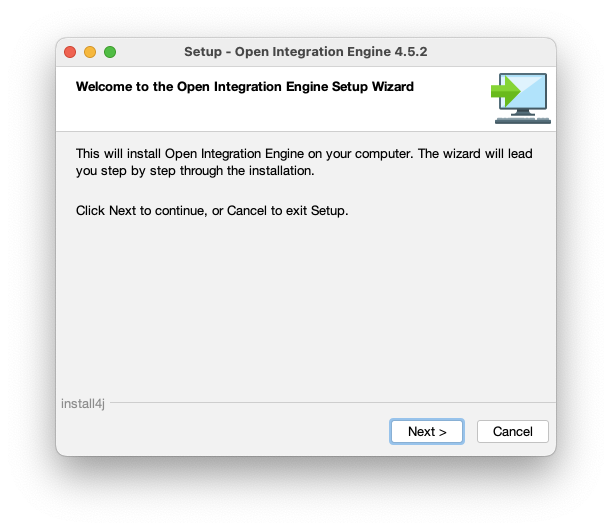
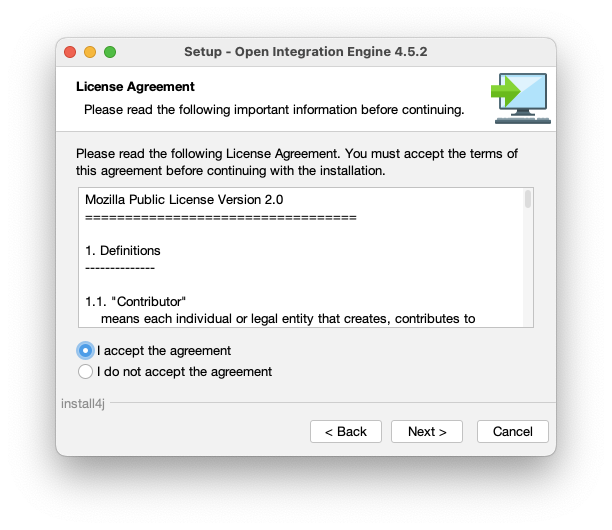
To continue you must accept this license by selecting I accept the agreement and then click on Next.
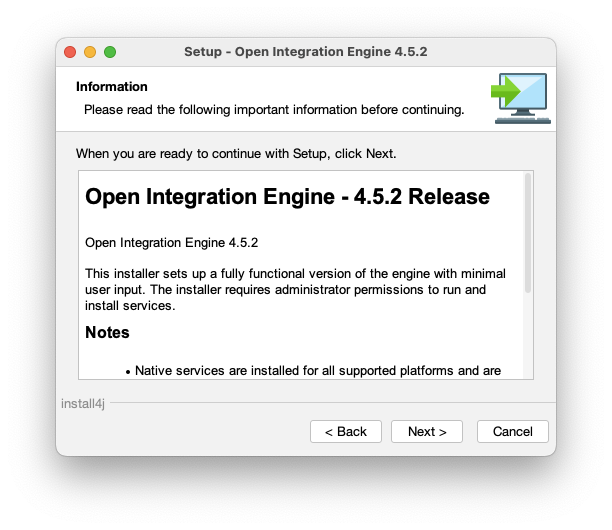
The next screen presents information about the current release. Click on Next to continue.
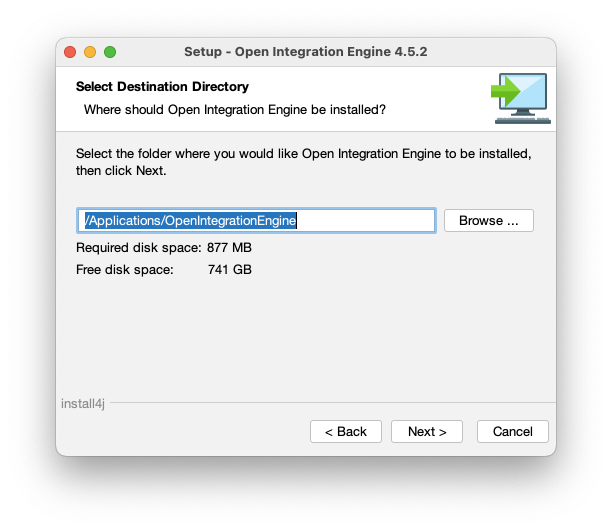
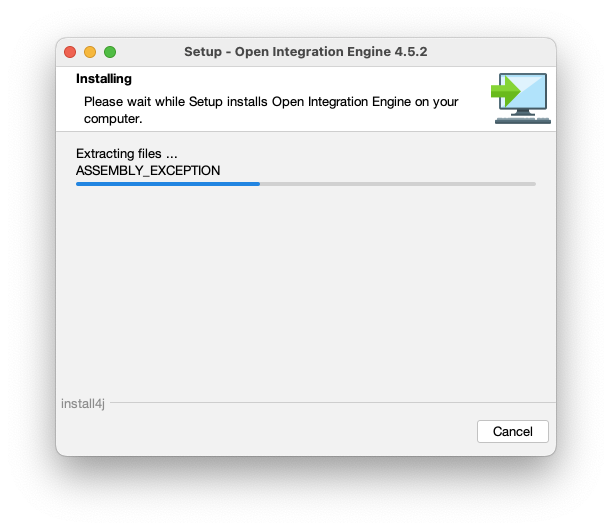
Choose a destination directory for the installation and click Next to start the installation. You can choose another folder if you do not want to install as a global package.
WARNING
If you use the default application folder, you will need to use the sudo command to launch the OIE server.
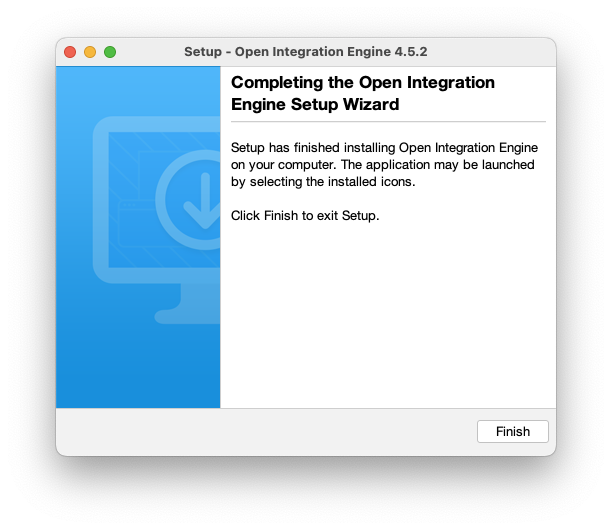
The last screen informs you that installation is complete. Click Finish to close the installer.
Now, open a Terminal and start the OIE server
sudo /Applications/OpenIntegrationEngine/oieserverDuring the first launch, the server initializes the database. If the server is launched correctly, you should see the following lines:
INFO  2026-01-15 20:07:38.773 [Main Server Thread] com.mirth.connect.server.Mirth: Open Integration Engine 4.5.2 (Built on July 8, 2025) server successfully started.
INFO  2026-01-15 20:07:38.776 [Main Server Thread] com.mirth.connect.server.Mirth: This product was developed by NextGen Healthcare (https://www.nextgen.com) and its contributors (c)2005-2024.
INFO  2026-01-15 20:07:38.776 [Main Server Thread] com.mirth.connect.server.Mirth: Open Integration Engine contributors (c)2025.
INFO  2026-01-15 20:07:38.777 [Main Server Thread] com.mirth.connect.server.Mirth: Running OpenJDK 64-Bit Server VM 17.0.15 on Mac OS X (15.7.3, aarch64), derby, with charset UTF-8.
INFO  2026-01-15 20:07:38.778 [Main Server Thread] com.mirth.connect.server.Mirth: Web server running at http://192.168.1.X:8080/ and https://192.168.1.X:8443/
TIP
Please note these URLs, as we will need them later.
First launch
To verify if the OIE server is available, open your web browser and enter the URL previously noted.
After accepting the self-signed certificate in your browser, you will see this page:

Copy the Administrator Launcher URL.
Ballista
Ballista is an open-source Administrator launcher for Open Integration Engine built on Tauri.
MCAL
The original Mirth® Connect Administrator Launcher by NextGen Healthcare (MCAL) works with OIE. Here is how you can use it to launch the OIE Administrator client GUI application.
Go to the macOS Launcher and search Mirth, you will see this icon.

If it's the first launch, the left panel with connections is empty.
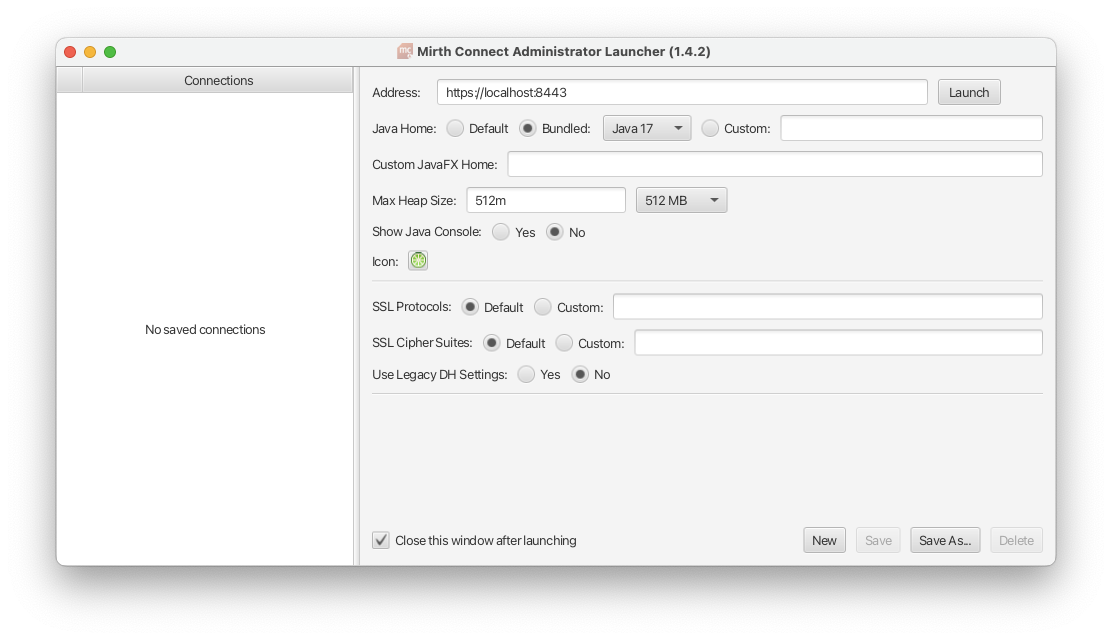
To work better with OIE, choose Bundled Java 17
And just click on Launch at the top right screen.
You should see a progress bar that will load the files necessary to launch the Open Integration Engine client.
Logging in
INFO
If you use a new instance, the default credentials are:
- login: admin
- password: admin
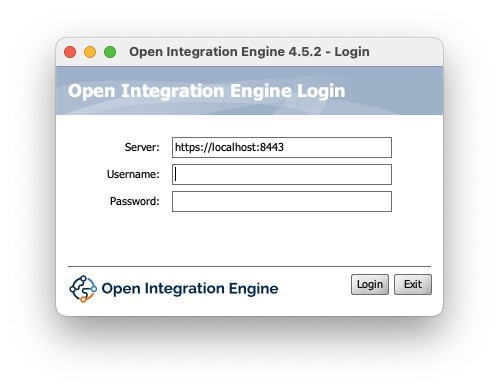
Enter your credentials and click Login when the login screen appears.
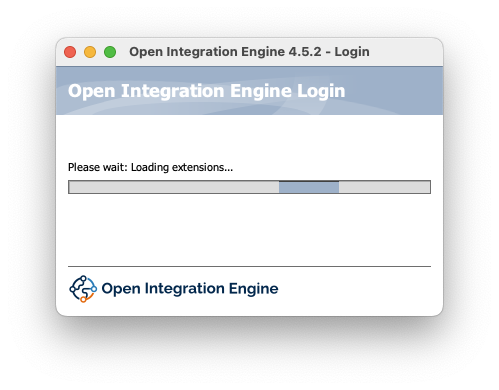
Upon successful login, a brief loading screen will display.
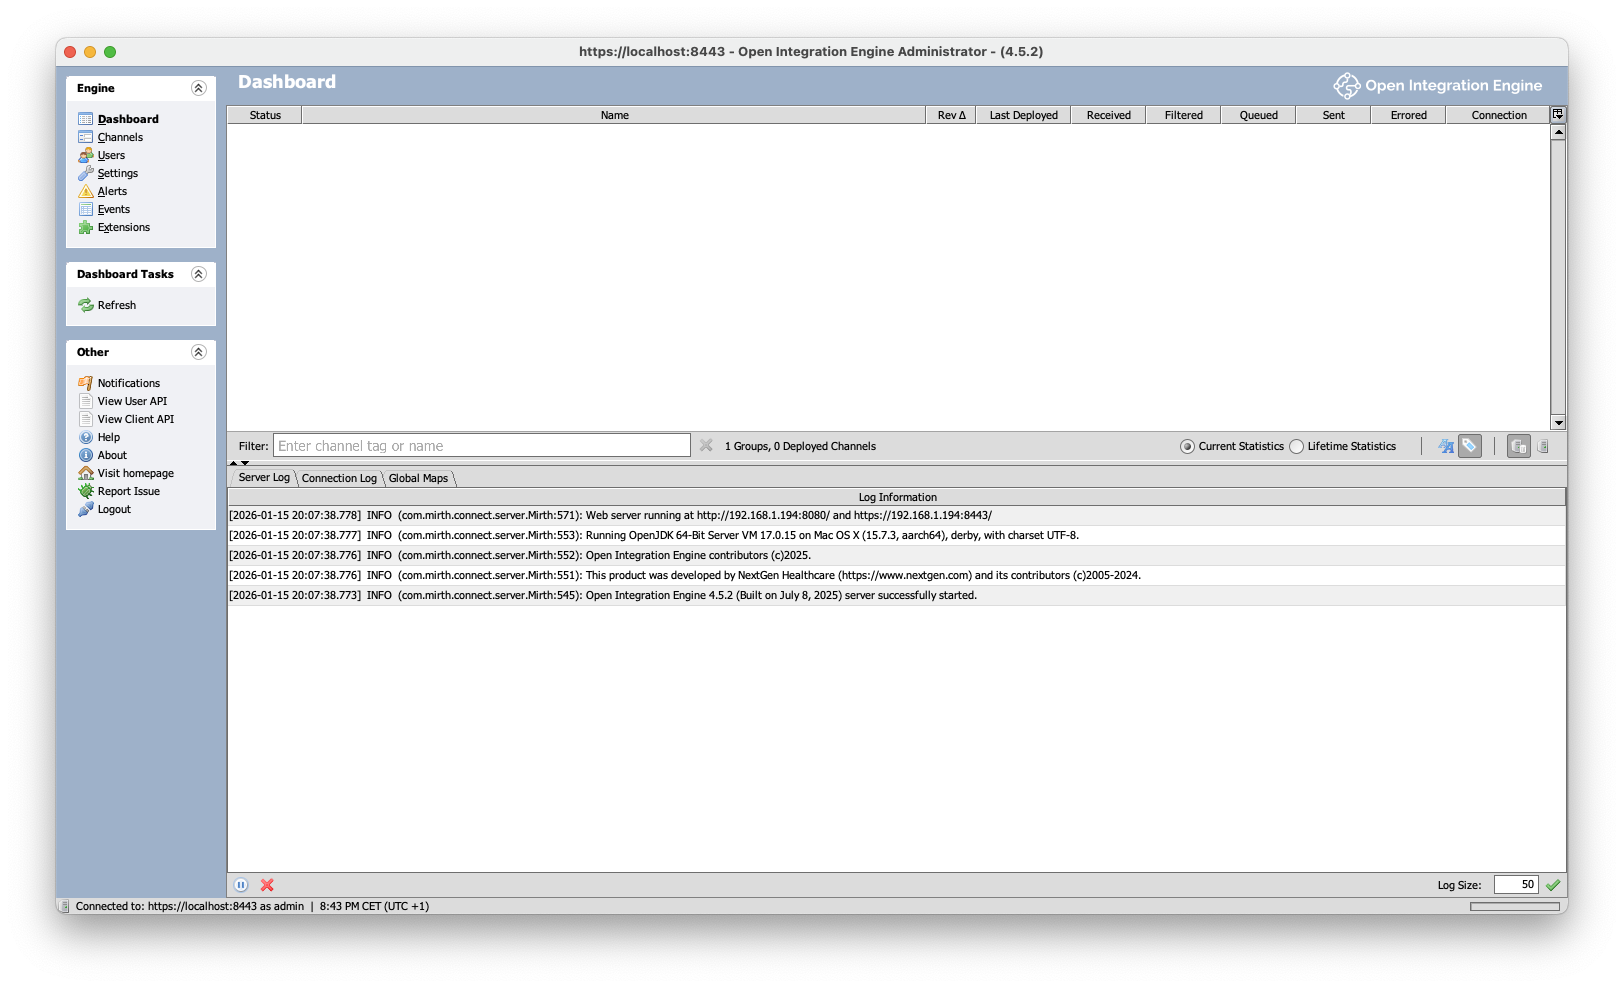
After some time, you will see the OIE dashboard.
Now it asks to change the default password if this is your first time logging in.
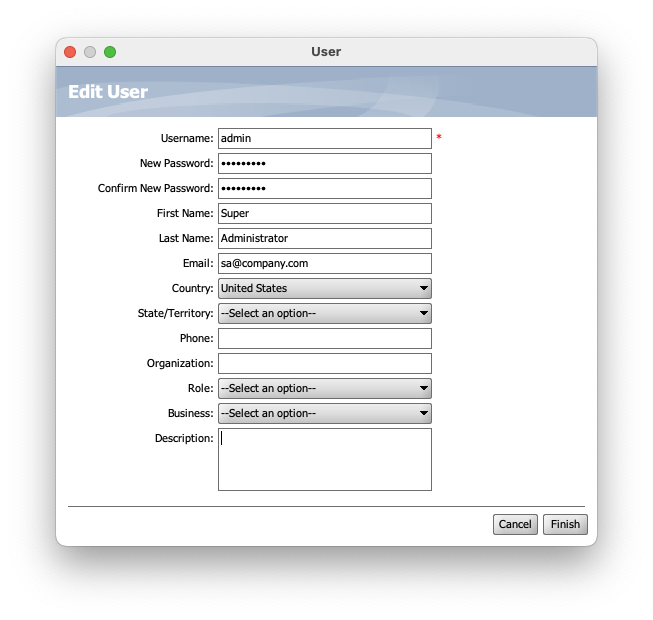
Fill the information, and don't forget to set the New Password (2 times)
And click on Finish
It's finished. Now you can start to use your OIE server.